Tiny Tapeout Course 3nd lesson - Tiny Tapeout
Paul Campbell - March 2023
paul@taniwha.com @moonbaseotago

(C) Copyright Moonbase Otago 2023
All rights reserved
Tiny Tapeout is a group project with bunches of tiny chiplets on the one die
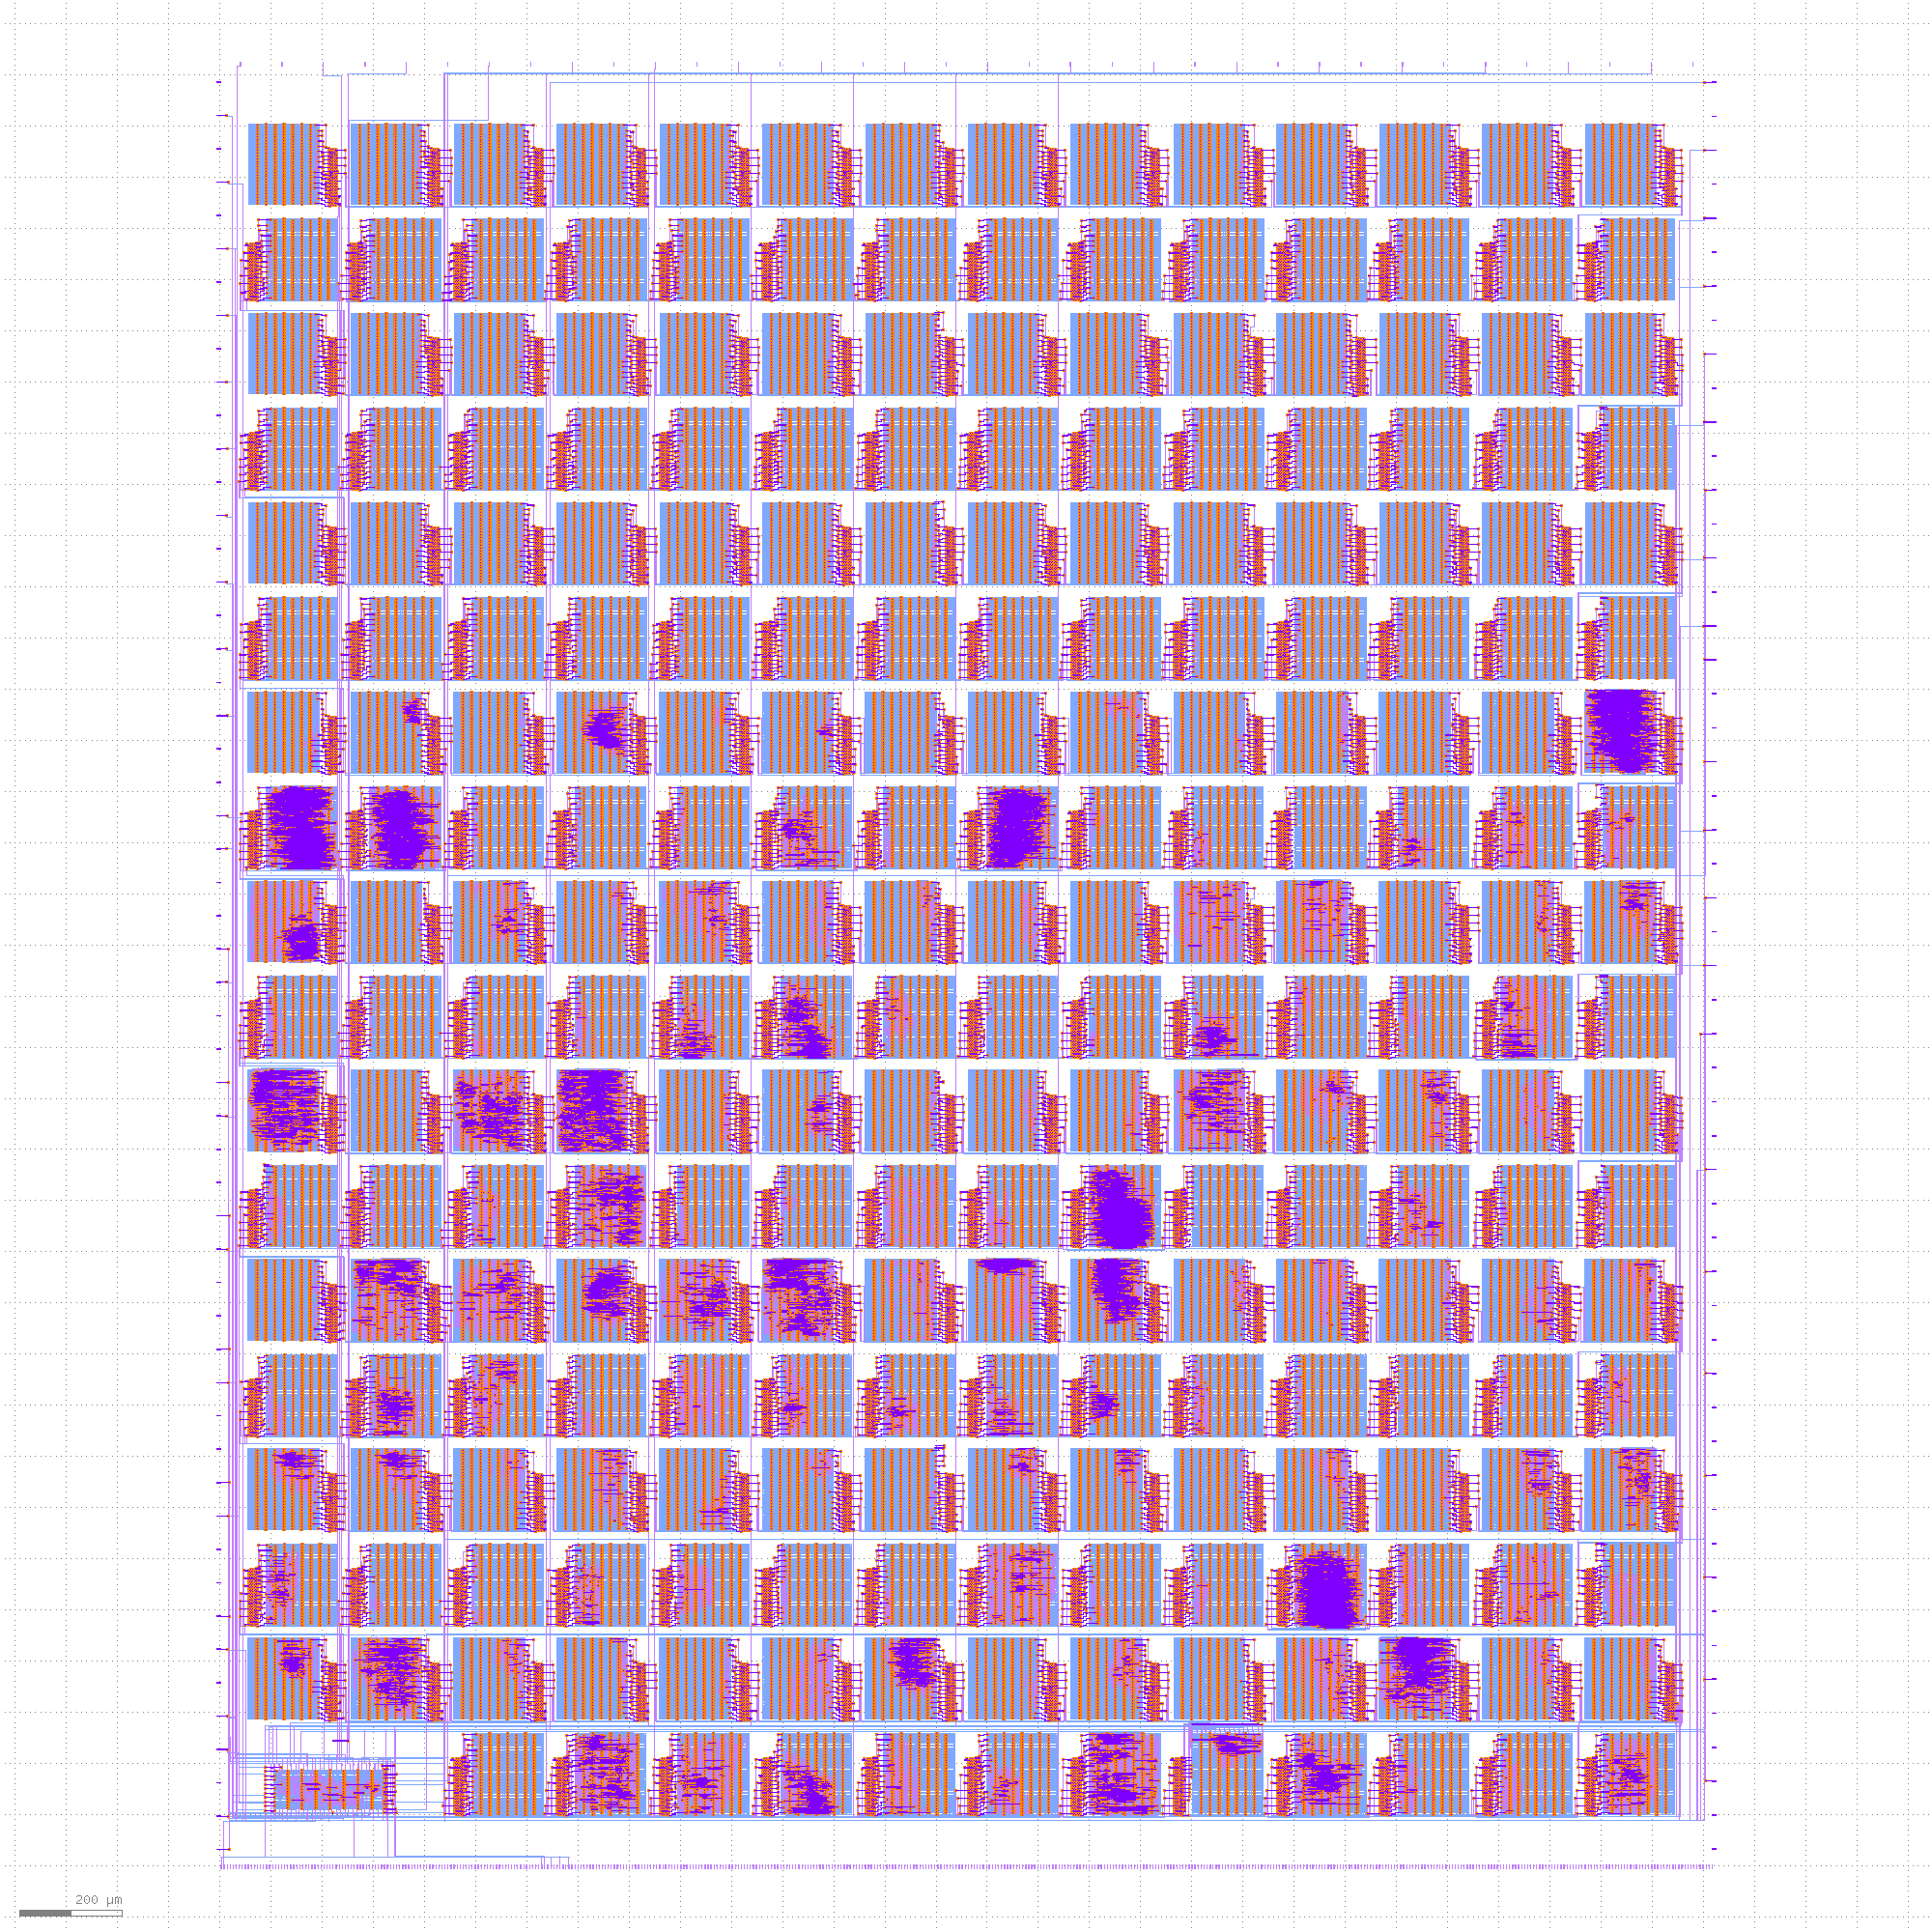
Each is assigned a fixed block - notice the fixed interface on the LHS

Interface
- The interface is simple, 8 input wires, 8 output wires
- bit 0 of the input must be clock
- bit 1 of the input must be reset
module my_design (input [7:0] io_in, output [7:0] io_out);

    wire clk = io_in[0];
    wire reset = io_in[1];

    ....
Before you start
Open a Github account from https://github.com/
Things to Learn
- Making a Tiny Tapeout Verilog Repo
- Changing it
- Taping it out
Fork Tiny Tapeout's Verilog Demo
- Log in to github
- Go to https://github.com/TinyTapeout/tt03-verilog-demo
- Click on the Fork pulldown menu and choose "Create new fork"
- Give your new fork a name
- Click "Create Fork"
Set up Github Pages
Set up so you can look at the produced GDS files:
- Goto to "Settings"
- Choose pages on the left
- Under "Source" choose "github actions"
Set up Github Actions
Set up actions so that checkins will cause an automatic build:
- Goto the "Actions" tab
- Click the big green button
- Test it - choose "GDS" and run workflow manually
- click on "gds" and see the build flow
- click on the "gds" box in the flow and see the build logs
- when it's done go back to the workflow and when "pages" goes green click on the link to get to the GDS viewer
Setting up your design
- install git on your laptop
- open a shell and clone your repo with something like "git clone https://github.com/your-git/your-repo/"
- step into the repo and edit info.yaml
- change the source files to match your file name(s), your file(s) go in the src directory - use "git add <files>" to add and "git rm <files>" to remove the existing counter.v and decoder.v
- Choose a unique top_module name for your design (must be different from all TT submisions so maybe use your name) - edit your top level verilog module so it has the same name
- Set your author and title
- Add a description and how_it_works, and document the pins (you can do this later)
- update anything else you like (maybe remove the default discord handle)
Changing your design
The most basic git flow is:
- edit something (like we just editted info.yaml)
- add the changes for example: git add info.yaml
- commit the changes: git commit -m "comment - changed info.yaml, added source files
- "git push" - this uploads your changes to github and triggers a build on github
- it's best to at the very least run your design through icarus to verify syntax before checking in
That's It - start building
Really that is it .... however:
- You can set up automatic tests, more info here https://tinytapeout.com/hdl/testing/, you can also turn that action off in github
- If you have a testbench you can do gatesim after synthesis
- Remember when we talked about naming all things you want to be flops the same way (I start with "r_") it's worth doing this. It helps you deb ug unwanted latches - have a look at the GDS summary that lists the gates that are used - if there's a "Latches" line and you didn't explicitly make them (ie other than flip flops) then it's worth looking in the resulting gate level net list - find the 'dxl' cells - or any Q output not driving a r_* wire then chances are you have a bug, please come talk to me
More resources
- https://tinytapeout.com/
- Actually submitting your design - put your repo in the submission box on https://tinytapeout.com/, you will need a credit card - you can keep changing it up until the point that they close out
- You can see all the past TTs here: https://tinytapeout.com/runs/tt02/ mine are #85 and #79 in TT02
- There is a discord server at https://discord.com/invite/wfxruMmTm9